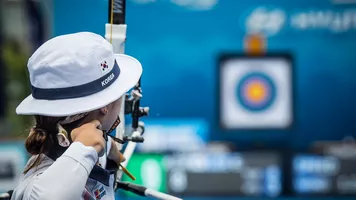
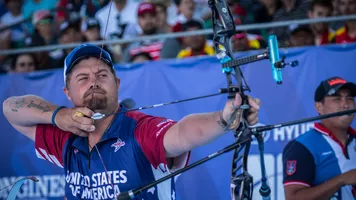
10 training exercises that will make your archery practice more efficient

One of archery's greatest strengths is perhaps also its deepest weakness.
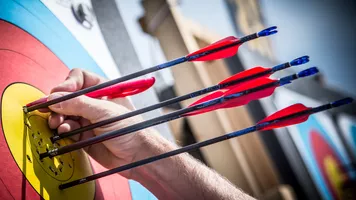
It centres around the target. They are exceptionally easy to understand – the closer an arrow hits to the middle, the better the result – and they provide instant feedback.
And therein lies the problem. When training, archers get immediate feedback on every shot. But training isn’t where an archer is required to perform on the scoresheet. The goal is to improve – not to win.
When focusing on craft, a visual representation of performance can actually do more harm than good.
That is why it is often beneficial to remove the focus from the target when practising. This doesn’t necessarily mean removing the target altogether, nor not scoring, but changing the parameters of a session using exercises.
The world’s top archers don’t train by simply shooting hundreds of arrows per session. Many use varied programmes of strength, control and focus work-outs to teach specific skills that better prepare athletes for competition.
These are some simple examples of drills that anyone can integrate into a single visit to the range – or as part of a larger training programme – to help improve their scores.
1. Card-deck simulation
How: Shuffle a deck of cards and shoot matches against the deck, with each card having a different value. Aces and picture cards are worth 10 points and all other cards in the deck are worth their number value.
Draw three cards per end or set, leaving them face down until your arrows are in the target. Reshuffle the deck at the end of each match.
To increase the difficulty, simply remove lower-value cards from the deck.
- Leaving all 52 cards is an average arrow of 7.2 points.
- Removing the two, three and four cards leaves an average arrow of 8.5 points.
- Removing the two, three, four, fix and six cards leaves an average arrow of 9.25 points.
Why: There is not a better way of randomly simulating matchplay. The goal is to win seven matches in a row – and win the tournament.
When: Use when preparing for competition.
2. Focus compass
How: Use the impact of the previous arrow to determine which part of your technique you pay particular focus to on your next shot. As an example, if the arrow lands high or low, focus on anchor point. If the arrow lands left or right, focus on head position and stance.
Why: It helps maintain meaning when shooting a lot of arrows in training and teaches you to pick a particular point of focus when shooting. This can be useful in competition, when you need to block out distractions, or deal with a particular or changing issue – even something like the wind.
When: Whenever you’re shooting arrows without another purpose, this is a good alternative.
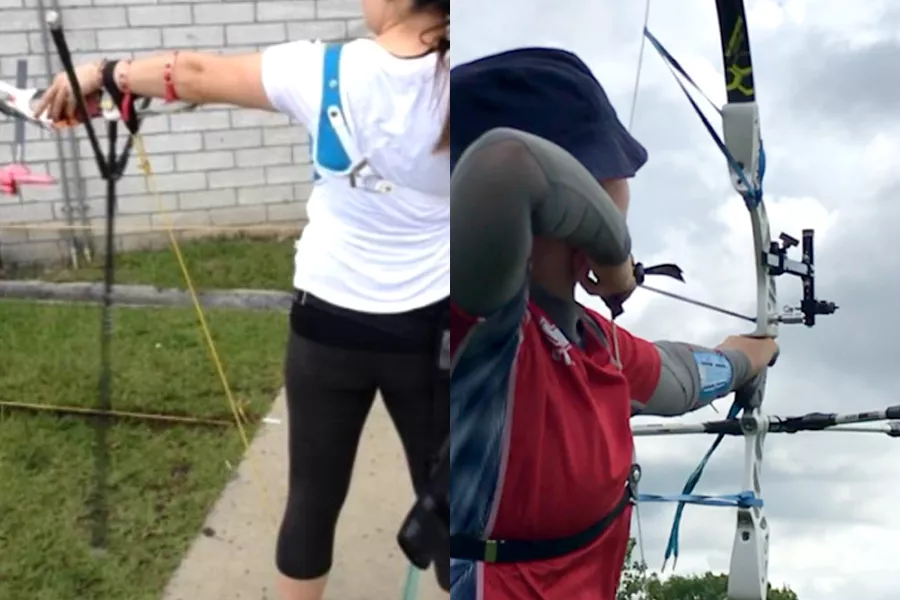
3. Resistance bands
How: (Recurve only) Wrap rubber training bands around the top and bottom of your riser and the string, adding about 2lbs of weight to the draw.
(Compound and recurve) Tie rubber training band around wrist and foot, adding weight to holding up the bow.
Why: If you’re shooting at the very edge of your ability to hold or draw a bow, it’s impossible to have full control.
Training with resistance bands increases the load just enough to push you out of your comfort zone so that when you take them off, you’ll feel stronger and more relaxed – and can work on fine control.
(Recurve archers can shoot with one or two bands around their riser and string, and it shouldn’t affect accuracy too much in training, since the string moves faster than the band upon release.)
When: Shoot 12 arrows on, 12 arrows off and repeat for a 72-arrow round to build bow strength.
4. Click and pull
How: (Recurve only) Pull through the clicker, expand an extra millimetre, reset to clicker point, expand, reset, expand, reset and then release.
Why: Control at the point of execution with a recurve requires strength and a strong understanding of technique. Archers are often wired into the clicker and errors between the ‘click‘ and releasing the string are lost. This exercise detaches the two, building mental and muscle stability.
When: Sets of six, three click and pulls and normal shots, six times. This 36-arrow exercise can be added to any training session.
5. Pyramid ends
How: Shoot an end of six arrows, then of nine, then of 12, then of 15, then of 12, then of nine, then of six, then of three.
Why: In competition, archers often to produce their practice standard because of external pressures. It‘s impossible to replicate that – but by removing the normality, and consistency, of the six-arrow end, you can push yourself out of your comfort zone. Shooting 15 arrows in one end is not easy.
When: Instead of a scored, 72-arrow round.
6. Back to basics
How: Simulate movements with a rubber band, then a basic bow and then your competition kit.
Why: It’s never too late to go back to basics. There’s a stigma around experienced archers picking up low-end kit and training change – but it’s the most efficient way.
Improve a skill by mastering it first with a resistance band, then with a beginner bow before moving on to your competition gear. And if it’s not working at the end, go back to the beginning again. (This applies to compound, too.)
When: Use when making technique changes.
7. Blank bale – with a target
How: Blank bale is shooting at a bale without aiming – and most people don’t put a target up. Per Braden Gellenthien, who explains this concept in the video above, have one up in the background but just don’t aim at it.
Why: Shooting without aiming helps you to work on technique. It removes the sight pin and score from your priority list and makes process more important. But it’s so different from shooting with a target that often doesn’t help when you move back to a normal set-up.
Keeping the target in the background normalises the ability to shoot without aiming – impacting outside of the middle – and is a great tool in combating target panic.
When: Braden recommended doing it regularly, particularly as a compound archer, as a form of technique maintenance. After a windy competition, it can be even more useful to reset.
8. The bow catch
How: Have a coach, or experienced friend, kneel beside you and catch your bow after release instead of using a finger sling.
Why: Pressure on the grip of the bow causes so many problems to arrow flight and it’s why pushing straight through the bow, rather than twisting it, is important for top archers.
It takes some faith but knowing that your bow can leave your hand and will be caught by somebody else stops the subconscious grabbing or manipulating the handle.
When: Use when improving technique – and repeat to maintain execution, once a month for a couple of ends out of competition time.
9. 7:14
How: Use a timer or clock. Count seven seconds to shoot a shot – in your head – and wait 14 seconds before raising your bow for the next.
Why: Simulates head-to-head, alternate shooting. The rhythm teaches you both to shoot on-demand to consistent timing and to wait before your next arrow rather than rush it, which is a trap that many archers fall into while training.
When: Shoot matches, five sets for recurve or 15 arrows for compound, and better prepare yourself for matchplay in training.
10. North-south-east-west
How: Use the impact point of your last arrow of the previous end as the aiming point for your next end.
Why: Aiming off the middle is a critical skill in competition, especially when it’s windy. It’s impossible to always move the sight and a good archer always knows how to put their pin in another spot on the target. This exercise practises that.
Exaggerate the impact point, pushing it further out of the middle if necessary, to train more extreme conditions. Focus purely on group sizes – against your normal ability – to measure the result.
When: Use when preparing for competition.
Got your own effective training exercise? Let us know via Twitter.