Like most things in life, you get what you pay for. With archery equipment, the same is true, but there are certain investments and shortcuts that can be made when buying beginners kit to save time and money in the long run.
With an overwhelming range of products on the market from manufacturers all around the world, it can be hard to figure out exactly where to start when buying your first recurve bow set-up.
Tips to get started
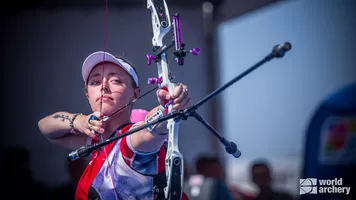
Work out exactly what you need: Shooting a basic recurve bow, like they use in the Olympics, requires a riser, limbs, string, rest, button, sight, stabilisation and other accessories.
Plan a budget for what you want to spend on the kit. (Prepare to ignore it when you arrive in the shop and something catches your eye.)
The best time to buy a first bow is a short while after completing a beginners course. You will have perfected your basic form and a coach can assess more accurately what kind of specifications you need for your equipment.
Change is the enemy of a consistent archer. Once you buy your own bow, you may find it takes a while to get used to it, so do not expect your scores to increase suddenly! (Although, it's not unknown for people to make vast improvements straight away.)
Before you choose your bow, keep in mind your draw length and how that affects the equipment. The overall height of the recurve bow (in inches) should be roughly your draw length plus 40in. Standard setups usually range from 66in-72in, although there is more variety for youth archers.
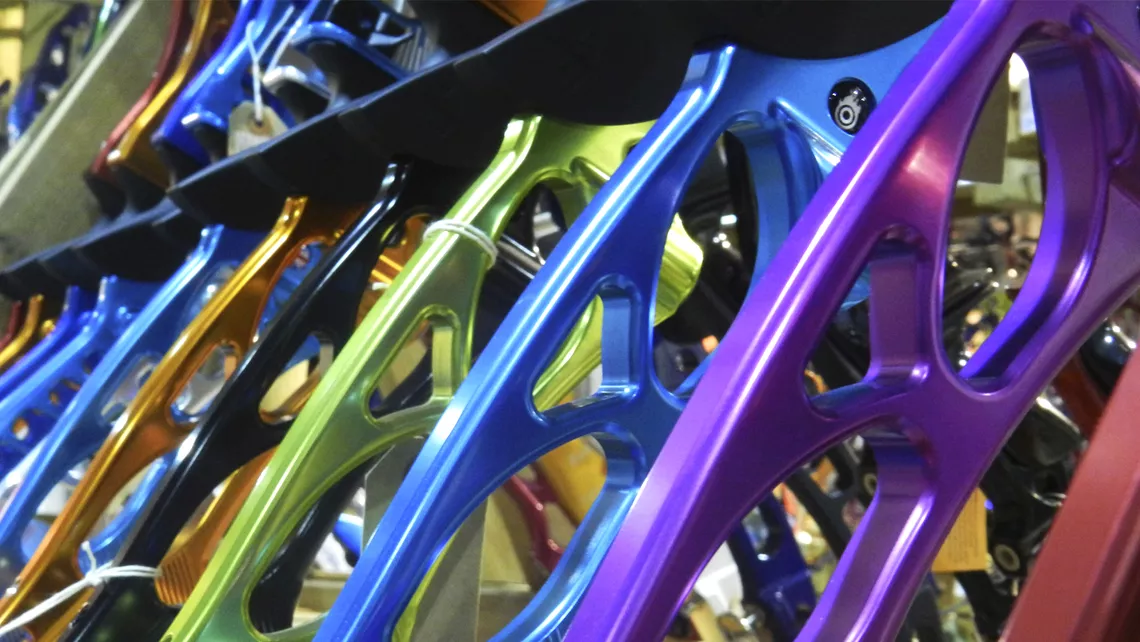
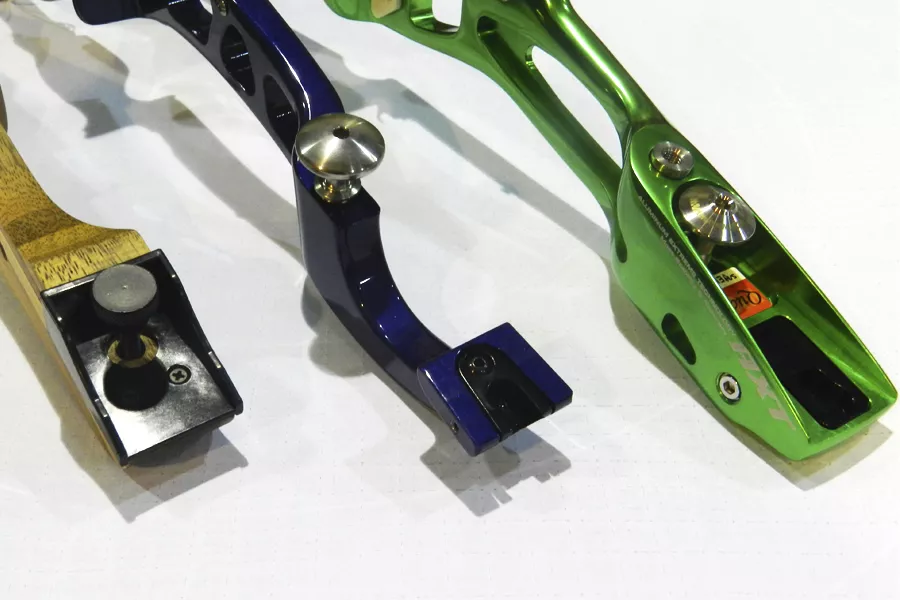
Riser
This is the part of the bow you will want to invest the most into. The riser is the foundation from which the rest of the bow is built, and will last you for years to come.
Your budget will dictate the kind of risers you will be looking at – but if you are able to visit a shop in person, pick up and hold as many as you can, feel the weight and balance in your hand. Many shops will have a range and let you test risers out.
The riser can be made from lots of different materials, such as wood (the more traditional choice), metal or carbon. Each have their own benefits and pitfalls.
Wooden and carbon risers are both very light, needing extra stabilisation to balance, while aluminium risers are extremely rugged. Wooden bows have a limited choice, and are usually the choice of those preferring to shoot traditionally, while metal and carbon risers take advantage of modern technologies.
Typical attributes of a good riser are good balance, good hand placement, straightness (a twisted riser is not a good riser) and geometry – as its shape and weight will affect how the limbs bend, how the bow reacts when it’s shot and how well it aims.
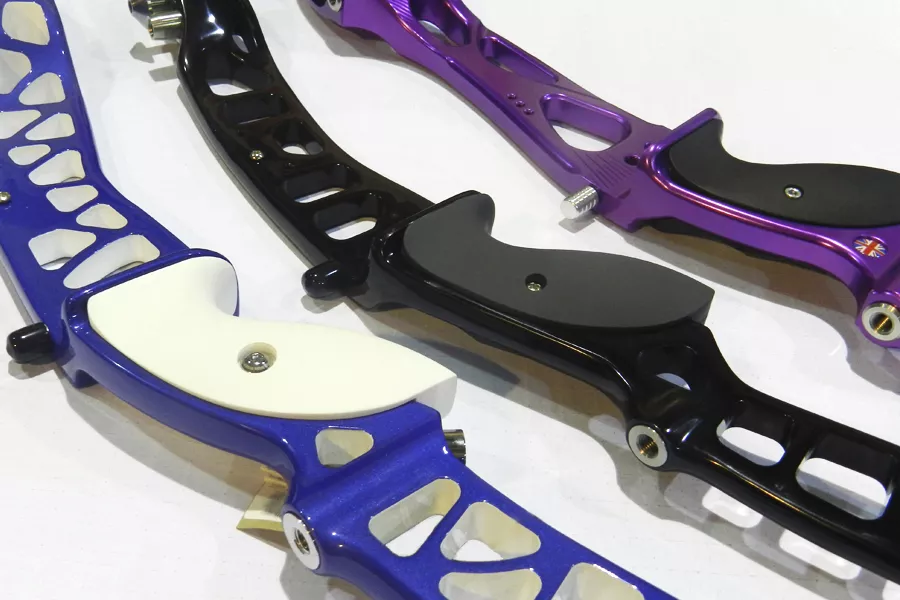
Limbs
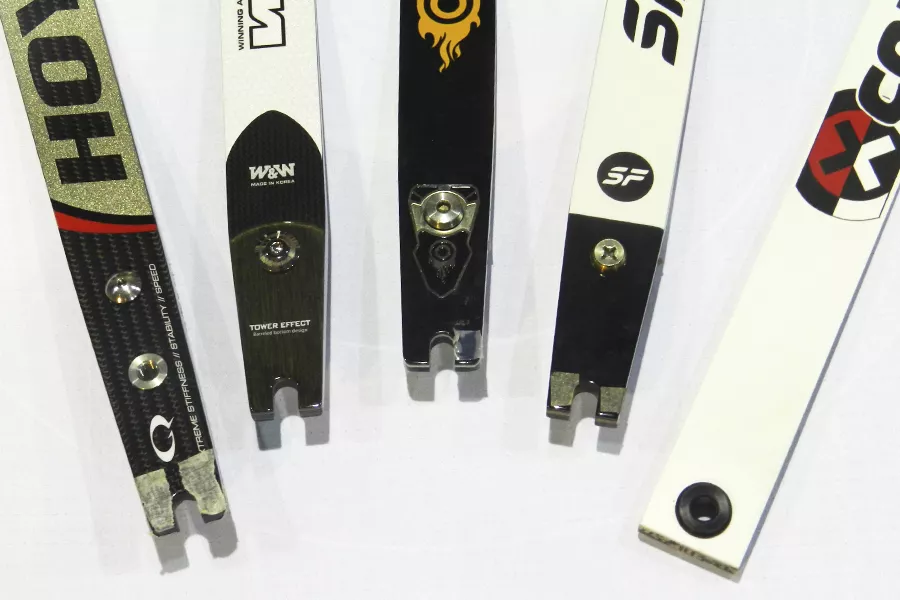
For beginners, growth and development of the archer is an important point to consider in selection of limbs. Most available on the market fit the ILF system (fitting the green riser on the right, below), which works cross-brand, with exceptions including screw-in and the newer Hoyt Formula fitting.
You are likely to outgrow your first set of limbs within a few months – therefore, one common recommendation is to buy limbs on the cheaper end of the market. This means that once you outgrow the limb, you can get a new pair without breaking the bank, and won’t be left with a top-of-the-range piece of kit you’ll need to sell.
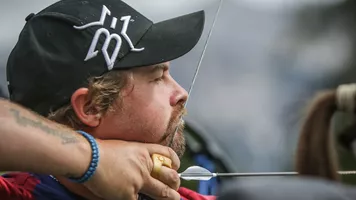
For your first set of limbs, choose a poundage (that’s the weight of the limb when you pull it back) that is similar or slightly heavier than used during your previous shooting. Most adults will use poundage ranging from 18-32.
Each brand and range of limbs will offer a different feel when shot. Some are snappy, some are soft – some use the latest in fibreglass or carbon fibre technology, some are layered with foam and many, still, use wooden cores, often bamboo. Limb choice is a very personal thing.
Many shops offer a rental scheme for beginner limbs, which is an excellent option.
String
Strings come in various lengths, materials and thicknesses to fit your bow. Ensure that the string is the right length. Thicker strings (those with more strands), which are necessary for higher poundages, tend to be a little slower but may fit your chosen arrow nocks better.
Use a tied nocking point, if you can, rather than brass – as this will prolong the life of both string and finger tab.
Of the many colours available, top archers often use the simple white. In hot weather, the colour reflects – and won’t affect the string much. (Of course, if the string is properly stretched when made, you’re unlikely to see much change in it, anyway.)
Sight
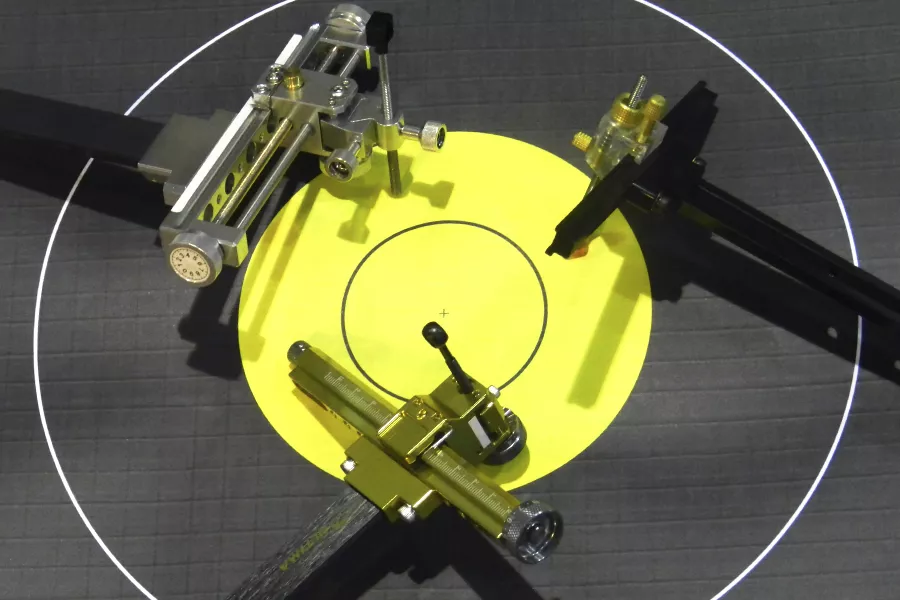
Your sight should be the second-most invested-in piece of kit you buy. Quality is definitely something you pay for in this case, as a cheaper sight may rattle apart after several shots, or could be fragile and difficult to adjust.
More sophisticated sights have micro-adjustable parts, better build quality and superior materials. Pick something that is robust and reliable, as this piece of kit will stay with you for some time.
Button and Rest
Rests are available in plastic, fixed or magnetic varieties. A metal rest will be sturdier and will not require replacement. They are difficult to get used to for beginners but are an alternative to a plastic rest.
Some of the best scores in the world were shot with fixed plastic rests.
The button is essentially a spring that pushes the arrow away from the riser as it flies from the bow. It allows for precise adjustments and tuning of your arrows and is paired with the rest to optimise your shooting. There are some exceptionally good-value buttons on the market.
Stabilisation
Long and short rods balance the bow and reduce vibration. At first, don’t worry about investing too heavily as most are well made and will do a good job for someone starting out. The best stabilisation system will result in a well-balanced, properly-weighted bow that is comfortable to shoot, especially when released.
It’s good to start with a long rod at least, then add v-bars at a later date. Other options include top and bottom rods, additional weight and dampers – and these usually get added when you’ve borrowed someone else’s equipment to test!
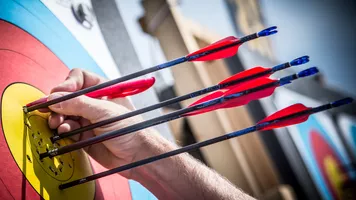
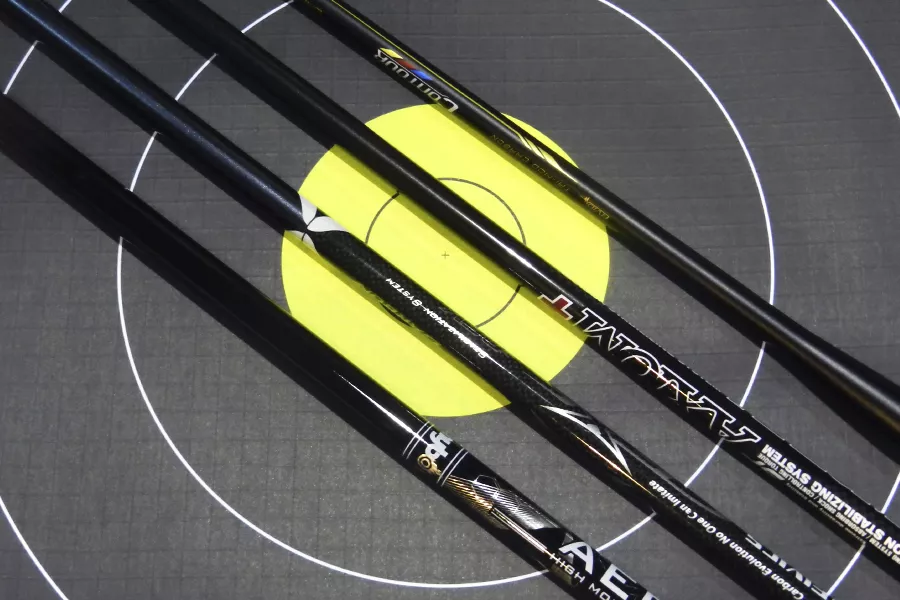
Arrows
For beginners, an aluminium or cheaper aluminium/carbon arrow will be suitable. Your arrow spine is dictated by the poundage you are pulling at the draw length you reach, and will need to be checked against manufacturer tuning charts.
These numbers will change one you get new limbs, so cheaper arrows will save you money now when you eventually have to switch and buy a new set. Fletch with vanes of your choice, preferably in bright colours if you are shooting outdoors. Plastic vanes are easy to repair and replace for beginners, though you’ll probably want to move on to spin wings eventually.
Remember to pick up spare nocks and fletchings to repair broken arrows.
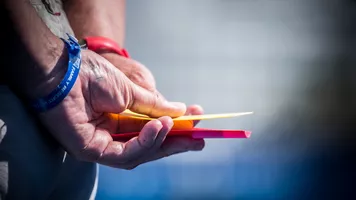
Finger tab
A structured finger tab with a shelf or finger divider – or at least the option to add these features – is preferable. As you progress in shooting, you’ll need to experiment with these additions to see if they work with your technique.
Both will feel extremely strange to begin with!
Other kit
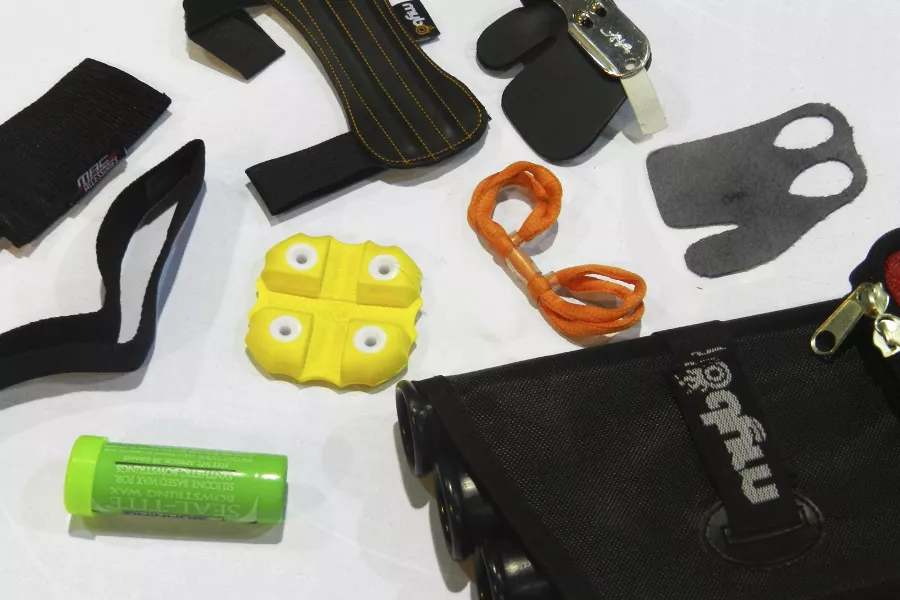
- Armguard
- Chestguard
- Quiver
- Bag or tackle box
- Bow stand
- Arrow puller (essential if your club uses straw bosses)
- String wax (you’ll probably be able to borrow this)
- Fingersling (or shoelace)
Choosing these bits of kit come down to personal preference and budget. There is a huge range of archery goods catering to archers of all levels and all styles, so if you’re uncertain about whether a piece of equipment – or its price – is suitable, ask!
Complete an introduction to archery course with a local club or range before purchasing equipment. World Archery highly recommends taking the advice of club members and coaches.